undervolting a GPU is the rare tweak that makes your graphics card run cooler, quieter, and more efficiently while keeping almost all of its performance. Where overclocking trades heat and power for speed, undervolting does something smarter: it feeds the chip less voltage to reach the same clocks, cutting temperatures and fan noise in the process. This guide explains what it is, how voltage and heat relate, and a safe, step-by-step method to do it yourself.
Understanding Undervolting and Why Gamers Do It
Just like clock speeds, the voltage a graphics card uses is set conservatively at the factory to guarantee stability for every unit in every condition. Most cards can hit their normal speeds on noticeably less voltage than they are given, and undervolting is the process of finding and applying that lower, more efficient setting. The result is a card that does the same work while generating less waste heat.
What Undervolting a GPU Actually Is
Undervolting means reducing the voltage your GPU uses to reach a given clock speed. Because heat and power draw rise sharply with voltage, lowering it even slightly can produce a meaningful drop in temperature and a quieter card, often with no loss of gaming performance at all.
You do it entirely in software using a voltage-frequency curve editor, with no physical changes to the card. As with overclocking, nothing is permanent until you save a profile, so the worst case from a bad attempt is a crash that disappears the moment you restart.
In practice, undervolting is one of the safest and most rewarding tweaks a gamer can learn, since it improves the things people complain about most, namely heat and noise, without asking for anything in return. That is what makes it stand out among PC tweaks: most adjustments force a trade-off, whereas a good undervolt mostly delivers upsides.
How Voltage, Heat, and Clocks Relate
A graphics chip needs a certain amount of voltage to run stably at a given clock speed, but factory settings deliberately supply more than the minimum as a safety margin. The problem is that power consumption, and therefore heat, scales roughly with the square of voltage, so that generous margin costs a lot of unnecessary warmth.
When you undervolt, you tell the card to hold its normal clock speeds at a lower voltage, trimming that wasteful margin. The chip does the same amount of work, but it draws less power and runs cooler, which often lets the fans spin slower and quieter.
On many cards you can even gain a touch of performance, because a cooler card sustains its boost clocks more consistently instead of throttling under heat. That is why undervolting sometimes delivers lower temperatures and slightly higher real-world frame rates at the same time. It feels counterintuitive that asking for less voltage can produce more performance, but cooler silicon simply holds its boost clocks more consistently under load.
Undervolting vs Overclocking
Overclocking pushes clocks higher and accepts more heat and power for extra speed, while undervolting holds performance steady and spends the savings on lower temperatures and noise. They sit at opposite ends of the same tuning spectrum, and which one suits you depends on what you value.
Interestingly, the two are not mutually exclusive. Experienced users often build an undervolt that maintains stock or slightly higher clocks at reduced voltage, capturing some of the best of both worlds: cool, quiet operation with performance that holds firm or even nudges upward. This balanced profile is often the real goal for enthusiasts, who care less about a record clock number and more about a card that is fast, cool, and silent in daily use.
How to Undervolt Your GPU Safely
The safe approach uses the curve editor in a free tool to set a target clock at a lower voltage, then tests for stability. It sounds technical, but the steps are repeatable and forgiving, and a stable undervolt usually takes less than an evening to find.
What You Will Need
Undervolting is free, and the toolkit is small.
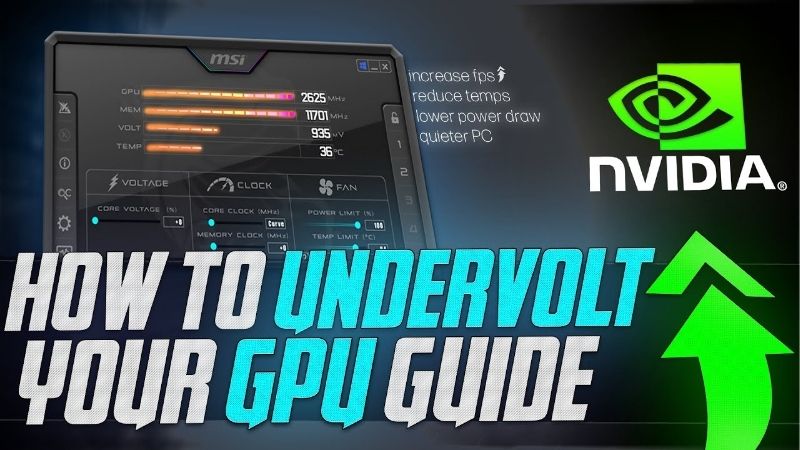
You need a free utility with a voltage-frequency curve editor, most commonly MSI Afterburner, which exposes the exact graph you will adjust. You also want a stress-testing tool to confirm stability and a monitoring overlay to watch temperature, clock speed, and power draw before and after, so you can actually measure the improvement.
No new hardware is required, which is part of the appeal, though the cooler, quieter result is most appreciated in a well-ventilated case; if your goal is the quietest possible system, pairing an undervolt with good case airflow gives the best outcome. Everything else is software you already have or can download for free. Because nothing has to be purchased and nothing is physical, undervolting is one of the lowest-commitment upgrades you can try on any system.
Step-by-Step Undervolting with the Curve Editor
Follow these steps to apply a safe undervolt:
- Note your stock numbers first by running a stress test and recording the card’s typical boost clock, voltage, and temperature. This baseline is how you will judge success.
- Open the curve editor in Afterburner by pressing Ctrl+F; you will see a graph with voltage along the bottom axis in millivolts and clock speed up the side in megahertz.
- Pick a target voltage lower than stock, for example a point in the 850 to 950 millivolt range, then drag that point up to your desired clock and flatten the curve to the right of it so the card will not exceed that voltage.
- Apply and stress test for several minutes; if it is stable, you have a working undervolt, and if it crashes, simply raise the target clock slightly or choose a marginally higher voltage and test again.
Once stable, run a longer test and a few real games to be sure, then save the profile so it applies automatically. The reward is immediate: lower temperatures and a quieter card doing the same job.
Finding a Stable Voltage-Frequency Point
The art of undervolting is balancing how low you push the voltage against the clock you ask it to hold. Aim too high a clock for too little voltage and the card crashes; play it too safe and you leave easy temperature savings unclaimed. The sweet spot is the lowest voltage that still holds your chosen clock through a long stress test.
A practical method is to start moderate, confirm stability, then try shaving the voltage down one step at a time, testing after each change. When you find the point where stability finally breaks, step back to the last reliable setting and save it, knowing it will hold up across the games you actually play.
Pros, Cons, and Expert Tips for Undervolting
Undervolting is one of the highest-value tweaks available, but it still has trade-offs and a few pitfalls, so it helps to weigh them before deciding how aggressive to be.
The Pros and Cons of Undervolting
The advantages are compelling: lower temperatures, quieter fans, reduced power draw, and often steadier or even slightly higher real-world performance thanks to less thermal throttling. It costs nothing, requires no hardware, and is completely reversible.
The downsides are minor. Finding a stable curve takes some patience and testing, an overly aggressive undervolt can cause crashes until you relax it, and the performance gains, where they exist, are small rather than transformative. None of this risks the card, since instability simply resets on restart.
Weighed together, undervolting is one of the few tweaks where the benefits clearly outshine the effort for almost everyone, particularly owners of cards that run hot or loud. For those users in particular, the drop in fan noise alone can transform how pleasant the whole machine is to sit next to.
Pro Tips and Mistakes to Avoid
The most common mistake is being too aggressive on the first try, dropping the voltage so far that the card crashes and assuming undervolting does not work for them. The fix is simply to relax the target and climb down in small steps instead.
Another mistake is forgetting to flatten the curve to the right of your chosen point, which lets the card sneak back up to higher voltages and undoes the whole effort. Always make sure your target voltage is the ceiling, not just a single adjusted point.
A pro tip is to test stability in the demanding games you actually play, not only in synthetic benchmarks, because some titles stress the card in ways a benchmark does not. An undervolt that survives a long session of your favourite game is one you can trust.
See More:
Who Should Undervolt Their GPU
Undervolting is ideal for anyone whose card runs hot or loud, for owners of small or poorly ventilated cases, and for anyone who simply wants a quieter, more efficient machine without sacrificing performance. Laptop owners benefit especially, since cooler operation can mean better sustained clocks and longer comfortable sessions.
It is also a smart move for people keeping their GPU for years, because a cooler-running card is a more pleasant one to live with day to day. If you want to take cooling further, pairing an undervolt with improved case airflow or quieter fans gives the best results, so it is worth checking the recommended cooling upgrades linked below.
In short, undervolting a GPU is the tweak that gives without taking, lowering heat, noise, and power while keeping your performance intact. Open the curve editor, set a stable clock at a lower voltage, test it thoroughly, and save the profile. For the quietest, coolest results, consider pairing your undervolt with the recommended airflow and cooling upgrades linked below.


Write Your Review
No reviews yet. Be the first to share your experience!