How to undervolt an Nvidia GPU is one of the best-kept secrets in PC optimization: lower voltage means less heat, less heat means higher sustained boost clocks and quieter fans, and on most cards you lose zero performance in the process. Nvidia’s boost algorithm constantly trades clock speed against temperature, so a cooler card automatically holds its clocks higher for longer. An undervolt attacks the problem at its source by reducing the power the card draws at a given frequency, delivering the same frames with less waste. This guide shows you exactly how to do it in MSI Afterburner, gives you safe starting values, and walks through the stress testing that confirms stability so you can undervolt with confidence.
What You Will Need to Undervolt
Undervolting is a free software tweak with no hardware required. MSI Afterburner and a stress test are the only tools, and the process is fully reversible. The items below cover what to install and the concepts to understand before you open the curve editor.
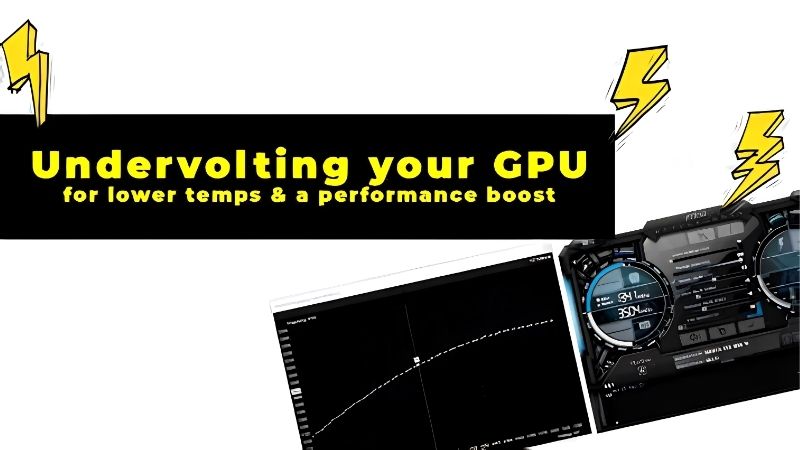
MSI Afterburner and the Curve Editor
Download and install MSI Afterburner if you do not have it already. The undervolt is set through its voltage-frequency curve editor, a graph that maps every voltage point to a clock speed. This is where you will tell the card to hit its normal clocks at a lower voltage than stock.
Open Afterburner and click Ctrl+F to launch the curve editor. The graph shows voltage on the horizontal axis and frequency on the vertical axis, with each dot representing a voltage-frequency pair the card can use.
Safe Starting Values
A good starting point is to find the voltage your card currently uses under load, then set the same clock speed at a voltage roughly 50–100 mV lower. For example, if your card boosts to 2100 MHz at 1000 mV, try locking 2100 MHz at 900–950 mV as your first test.
Every card is different, so these are starting points rather than guarantees. Silicon quality varies, and some cards undervolt further than others. The stress testing step will tell you where your specific card’s limit sits.
| Step | Voltage | Target Clock | Notes |
|---|---|---|---|
| Stock (baseline) | ~1000 mV | ~2100 MHz | Note your actual numbers |
| First test | 950 mV | 2100 MHz | Conservative start (−50 mV) |
| Tighten | 925 mV | 2100 MHz | Drop 25 mV if stable |
| Aggressive | 900 mV | 2100 MHz | Test limit; raise if crash |
Values are examples; replace with your card’s actual stock voltage and boost clock.
What Undervolting Does and Does Not Do
Undervolting reduces the voltage the GPU uses at a given clock, which directly lowers power draw and heat. The card still runs the same frequency, so performance stays the same while temperatures and fan noise drop.
It does not increase the maximum clock speed, overclock the card, or change anything permanent. The setting is software-only and resets to stock if Afterburner is closed or the profile is cleared. There is no physical risk to the hardware.
Think of it this way:
Undervolting is also fully independent of any overclock. You can undervolt without overclocking, overclock without undervolting, or combine both. Starting with a pure undervolt is the recommended first step because it delivers immediate gains with zero trade-off, and you can layer an overclock on top later if you want more.
Think of it this way: the card ships with a voltage that works on every chip of that model, including the weakest ones. Your specific chip almost certainly needs less voltage than that conservative default, and undervolting finds the actual requirement rather than the worst-case safety margin. The headroom is built in by design.
Step-by-Step Guide to Undervolting
Follow these steps in MSI Afterburner. The process is methodical: set the curve, stress test, and tighten gradually until you find the sweet spot. Each step is numbered so you can follow it while working on the curve editor.
Step 1 to 3: Set the Initial Undervolt
Step 1: Note your stock boost clock and voltage. Run a game or stress test and watch the curve editor. The dot that lights up under load shows the voltage-frequency pair the card is currently using. Note both numbers.
Step 2: Choose a lower voltage target. Click on the voltage point 50–100 mV below your stock load voltage and drag it up to match your stock boost clock. Then select all points to the right of your target and press Delete or drag them below your target frequency so the card will not use a higher voltage.
Step 3: Apply the curve. Click the checkmark in Afterburner to apply. The card will now try to hit your target clock at the lower voltage.
This is your first test point. The card is now running with less power, and the next step confirms whether it is stable.
At this stage the card draws less power than stock, produces less heat, and asks the fans to do less work. If the stress test passes, you have already gained temperature and noise with no performance trade-off, and you can decide whether to tighten further or stop here.
Step 4 to 6: Stress Test and Refine
Step 4: Run a stress test. Use a demanding tool like Unigine Heaven, 3DMark Time Spy, or a heavy game for at least 15–20 minutes. Watch for crashes, driver resets, or visual artifacts, all signs the voltage is too low.
Step 5: Tighten or loosen. If the test is stable, try dropping another 25 mV and re-test. If it crashed, raise the voltage by 25 mV and re-test. Each step narrows the window until you find the lowest stable voltage for your target clock.
Step 6: Confirm under real gaming. Once the stress test passes, play your most demanding game for a full session. Stress tools push the card differently than games, so a real-world session is the final confirmation that your undervolt is solid.
Step 7 to 9: Save and Monitor
Step 7: Save the profile. In Afterburner, save the stable curve to a profile slot. This lets you recall it after a driver update or settings reset with one click.
Step 8: Set Afterburner to start with Windows. Enable the option in Settings so the undervolt is always active without manual launch.
Step 9: Monitor long-term. Check temperatures periodically. A successful undervolt typically drops load temperatures by several degrees, and the card should hold its boost clocks more consistently across long sessions. If a new game or driver causes instability, raise the voltage by one step in the saved profile.
A well-maintained undervolt profile is a set-and-forget optimization. Most owners touch it only after a major driver change, and even then the fix is a single step in the profile. The daily benefit, a cooler, quieter card with the same or better sustained clocks, runs silently in the background every session.
Pro Tips, Mistakes, and Expectations
Undervolting is forgiving and reversible, but a few habits help you find the optimal point faster and avoid the minor frustrations that slow beginners down. This section covers the tips that matter most.
Pro Tips for the Best Undervolt
Pair the undervolt with a custom fan curve for the best combined result. Lower heat means the fans can ramp later and spin slower, so the card is both cooler and quieter at the same time.
Test with the hardest workload you expect to run, not a light game. A curve stable in a lightweight title may fail in a heavy one, and testing against your toughest scenario builds confidence that the undervolt will hold.
Common Mistakes to Avoid
Do not drop voltage by too much at once. Jumping 200 mV on the first try often causes an immediate crash, which can feel alarming even though it is harmless. Work in 25–50 mV steps for a smooth process.
Do not forget to flatten the curve to the right of your target point. If higher-voltage points remain above your target frequency, the card may boost into them and bypass your undervolt entirely.
Pros and Cons of Undervolting
On the plus side, undervolting is free, reversible, lowers temperature and noise, preserves or improves sustained performance, and carries no risk to the hardware. It is one of the most effective no-cost optimizations available.
The beauty of undervolting is that it is genuinely win-win. Unlike overclocking, which trades heat for speed, undervolting gives you cooler temperatures and the same speed with no downside beyond the tuning time. Once set, it runs invisibly and makes the card better in every measurable way.
On the downside, finding the exact stable point requires patience and testing, the optimal voltage varies per card, and a driver update may require re-tuning. For any Nvidia owner willing to spend 20 minutes, the trade is overwhelmingly positive.
Undervolting is the rare optimization that gives you something for nothing: less heat, less noise, and the same or better sustained performance. Follow the steps above, save your profile, and enjoy a cooler, quieter card.
Undervolting is also fully independent of any overclock. You can undervolt without overclocking, overclock without undervolting, or combine both. Starting with a pure undervolt is the recommended first step because it delivers immediate gains with zero trade-off, and you can layer an overclock on top later if you want more. If you undervolt now and later upgrade to a new card, the same skill applies: every Nvidia GPU ships with conservative voltage margins, and every card responds to the same curve-editor process. Learning it once means you start every future card with a free optimization already in hand.
See More:
- How to lower GPU temperature
- How to lower GPU hotspot temp
- How to increase GPU performance
- How to enable G-Sync
Conclusion
Learning how to undervolt an Nvidia GPU gives you free temperature and noise reductions with no performance loss on most cards. Set the curve in MSI Afterburner using safe starting values, stress test in steps of 25 mV, confirm in real games, and save the profile. Pair it with a custom fan curve for the best combined result, and re-check after driver updates. It is one of the most effective free optimizations any Nvidia owner can make, and the entire process is fully reversible. Get started and enjoy a cooler, quieter system.


Write Your Review
No reviews yet. Be the first to share your experience!