Top Tell Graphics Card Have Simple Picks for 2026
Here are our current top tell graphics card have simple picks, compared on real Amazon owner reviews, price, and features. Live prices update below.


How to tell what graphics card I have is a question that stops a lot of people cold. You want to update a driver, check if a game will run, or list your PC for sale, and suddenly you realize you do not know your own GPU. The frustrating part is that the answer is sitting right there inside your computer. This guide fixes that for good. You will learn the fast software checks, the deeper confirmation methods, and how to read the card itself, all in plain language and clear steps. No experience needed, and most of it takes less than five minutes.

Before You Start: What You Will Need
Most of this job needs nothing but your mouse and a couple of free tools. A few cheap physical items help only if you decide to open the case for a visual check. Here is the short list, grouped by how you will use it.
Built-In Windows Tools (Free)
Windows already ships with everything needed for a basic check. You do not have to install a thing.
The three you will use are Device Manager, the DirectX Diagnostic Tool (dxdiag), and Task Manager. Each one reads your GPU name from the system. We cover exactly how to use them in the next section.
Keep Windows Settings open too. It confirms whether your display is running on integrated or dedicated graphics, which matters on laptops with two GPUs.
The big advantage of these built-in tools is trust. They read the GPU name straight from the system, they cost nothing, and there is no download that could carry malware. For the vast majority of people, a Windows tool alone answers the question completely. The only time they fall short is when a driver is missing or the card is a close variant of another model, and that is exactly when the third-party apps below step in. Think of the built-in tools as your first stop and the rest of this list as backup for the rare cases they cannot fully resolve.
Trusted Third-Party Apps
Sometimes Windows shows a vague name. That is when a free utility earns its place.
GPU-Z is the go-to. It reads the exact chip, VRAM type, bus width, and BIOS, and it flags fake or relabeled cards. HWiNFO does the same and adds live temperatures and clock speeds, which is handy if you also want to check the card’s health.
Both are lightweight and free. Download them only from their official sites to stay safe.
Why bother with an exact reading? Two cards can share a name yet differ underneath. A GPU might use a slower memory type, a narrower bus, or a cut-down chip while still showing the same model label in Windows. GPU-Z exposes those details so you know precisely what you own, which is essential before buying a used card, listing yours for sale, or troubleshooting performance that feels lower than it should. For a casual check this depth is optional, but for any decision involving money it is the smart, five-minute insurance step.
A Few Physical Tools (Optional)
You only need these if software fails and you want to read the label on the card.
A small anti-static precision screwdriver set opens almost any case and keeps tiny screws from rolling away. A can of compressed air clears the dust that usually hides the model sticker. A cheap magnetic parts tray stops you from losing screws on the floor. If you plan any future upgrade or cleaning, these are worth owning, and you can pick up a reliable beginner kit on Amazon for very little.
One safety note before you reach for a screwdriver: handle the card by its edges and avoid touching the gold contacts or exposed components. Static electricity from your body can damage hardware, which is why an anti-static screwdriver kit or a simple grounding strap is worth the few dollars it costs. None of this is difficult, but treating the inside of your PC with a little care now saves you from an expensive mistake later. If you are not comfortable opening the case at all, the software methods above will almost always give you the answer anyway.
How to Tell What Graphics Card You Have, Step by Step
Follow these steps in order. The first three confirm the name in seconds. The middle steps add detail like VRAM and driver version. The last steps cover the physical card for anyone who wants total certainty or whose software check came back blank.
Steps 1 to 3: The Fast Software Checks
Start here. Nine times out of ten, this is all you need.
- Open Device Manager. Right-click the Start button and pick Device Manager. This is the quickest path to your GPU name, with no typing required.
- Expand Display adapters. Click the small arrow next to it. Your card appears by name, such as “NVIDIA GeForce RTX 4070.” If two names show, your PC has both integrated and dedicated graphics.
- Note the dedicated card. The GeForce, GTX, or Radeon RX entry is your gaming GPU. The Intel or AMD “Graphics” entry is the integrated chip. Write down the dedicated one, because that is the card that does the heavy work.
That is the answer most people came for. If you also need VRAM or driver details, keep going.
A quick word on laptops, since they trip people up the most. Almost every gaming laptop has two graphics processors: a power-saving integrated chip for desktop work and a stronger dedicated GPU for games. Both show up in Device Manager, and it is easy to read the wrong one and think your machine is weaker than it is. The rule is simple: the entry with GeForce, RTX, GTX, or Radeon RX in its name is your real gaming card. The Intel UHD or AMD Radeon Graphics entry is the integrated helper. When in doubt, the dedicated card is the one with the longer, more specific model number.
Steps 4 to 6: Confirming VRAM, Drivers, and Live Data
These steps add the numbers that matter for gaming and upgrades.
- Run dxdiag. Press Windows + R, type dxdiag, and hit Enter. Open the Display tab. Why this matters: it shows your card’s Name, Manufacturer, and Display Memory (your dedicated VRAM) in one clean view.
- Check Task Manager. Press Ctrl + Shift + Esc, open the Performance tab, and click GPU. You will see the model in the corner plus live usage and temperature. This confirms the card is active and working under load.
- Read the driver version. In Device Manager, right-click your GPU, choose Properties, then the Driver tab. Knowing the version tells you whether an update is due, which fixes many game crashes.
With VRAM and driver version in hand, you can match your card to any game’s requirements with confidence.
Here is how to put those two numbers to work. VRAM, the dedicated memory shown in dxdiag, decides how high you can push textures and resolution; 8GB is comfortable for 1080p, while 12GB or more eases 1440p and 4K. The driver version, meanwhile, is the single most common fix for stutters, crashes, and games that refuse to launch. If yours is months old, updating it often restores lost performance for free. Together these two readings turn a simple “what card is this” check into a practical tune-up you can act on the same afternoon.
Steps 7 and 8: Reading the Physical Card
Use these only if software showed a generic label like “Microsoft Basic Display Adapter,” or if you simply want to be one hundred percent sure.
- Power down and open the side panel. Shut off the PC, unplug it, and remove the side panel with your screwdriver. Why: the GPU carries a printed model sticker that never lies, even when software does.
- Find the model on the card. Look along the top edge or the backplate of the GPU. Blow off dust with compressed air if needed, then read the model and serial number. Match that against the maker’s site to confirm the exact variant.
Once you can read the sticker, you have the final word on what graphics card you have, no guessing left.
Keep in mind that the sticker shows the board partner’s model name, which may differ slightly from the core GPU. A card labeled by ASUS, MSI, or Gigabyte still uses an Nvidia or AMD chip underneath, and GPU-Z will confirm that core if the branding ever confuses you.
Pro Tips, Common Mistakes, and the Pros and Cons
A few small habits make this process smoother and stop you from drawing the wrong conclusion. This section shares the tips that save time, the mistakes that trip up beginners, and an honest look at when each method is the right call.
Pro Tips for an Accurate Result
These small moves make a real difference.
- Update first, then re-check. If Windows shows a generic name, install the latest driver and look again. The proper model usually appears once the driver loads.
- Cross-check two tools. If Device Manager and GPU-Z agree, you are done. If they differ, trust GPU-Z, since it reads the chip directly.
- Photograph the sticker. Snap a phone photo of the card’s label while the case is open. You will thank yourself during your next upgrade or resale.
- Match the variant on the maker’s site. Once you have the model, a quick search on the manufacturer’s page confirms the exact edition and its official specs, so you are never guessing about clock speeds or memory.
One more habit pays off over time: keep a small text note with your full system details, including the GPU model, VRAM, and current driver version. When a game lists its requirements, when you ask for help on a forum, or when you finally sell the machine, that note answers every hardware question instantly. It takes two minutes to create and saves the same five-minute check every time the subject comes up again.
Common Mistakes to Avoid
Steer clear of these and you will get a clean answer every time.
- Reading the integrated chip by accident. On laptops and many desktops, two GPUs appear. Do not mistake the Intel or AMD integrated entry for your gaming card.
- Trusting a vague label. “Standard VGA Graphics Adapter” is a missing-driver placeholder, not your real card. Install the driver before judging.
- Downloading tools from random sites. Fake “GPU detector” downloads are a known malware trap. Stick to official GPU-Z and HWiNFO pages.
Two subtler mistakes catch people out as well. The first is assuming the card in a prebuilt or used PC matches the listing; sellers sometimes swap parts, so always verify with software rather than trusting the description. The second is confusing total system memory with graphics memory. Your RAM and your VRAM are separate; the dxdiag Display Memory figure is the one that matters for gaming, not the larger number you see for system RAM. Keeping those two straight prevents a lot of confusion when you compare your machine against a game requirement list.
Pros and Cons of Each Identification Method
Each route to telling what graphics card you have has a sweet spot. Knowing the trade-offs helps you pick the fastest path for your situation.
- Software checks. Pros: instant, free, no tools, shows VRAM and drivers. Cons: can display generic names and may hide sub-variants.
- Third-party apps. Pros: exact chip detail, exposes fakes, adds health data. Cons: a small download, slightly more technical to read.
- Physical inspection. Pros: the definitive answer, immune to driver issues. Cons: requires opening the case and a screwdriver, and is overkill for most users.
For nearly everyone, the software checks win. Keep the physical method as your backup.
See more:
Recommended Products
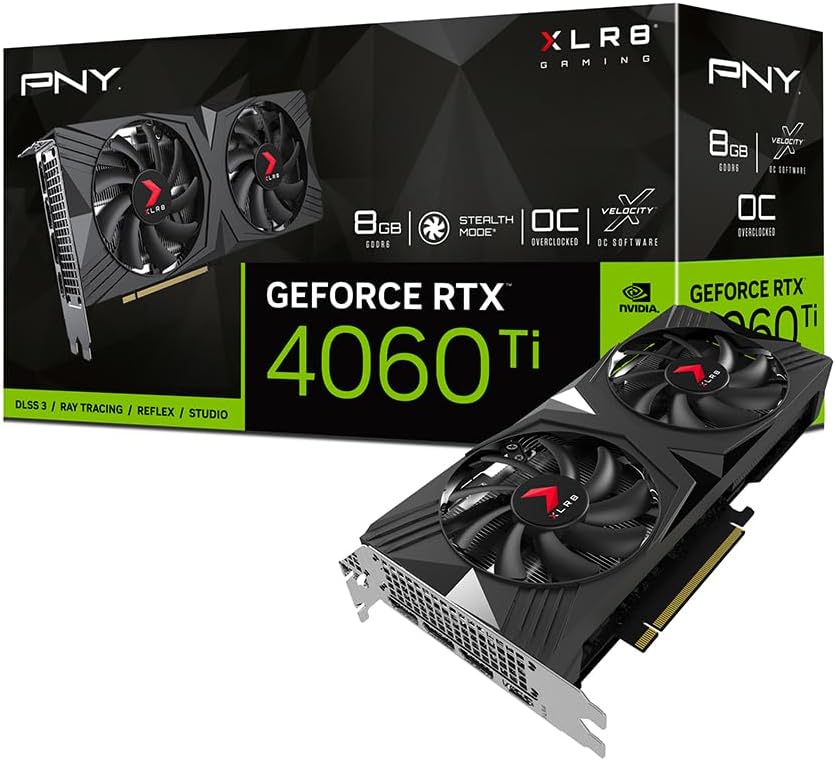
Prime PNY GeForce RTX™ 4060 Ti 8GB Verto™ OC Dual Fan Graphics Card DLSS 3 (128-bit, PCIe 4.0, GDDR6, HDMI/DisplayPort, Supports 4k, 2 Slot)

Prime ZOTAC Gaming GeForce RTX 4060 8GB Twin Edge OC DLSS 3 8GB GDDR6 128-bit 17 Gbps PCIE 4.0 Compact Gaming Graphics Card, ZT-D40600H-10M

Gigabyte GeForce RTX 4060 Eagle OC 8G Graphics Card, 3X WINDFORCE Fans, 8GB 128-bit GDDR6, GV-N4060EAGLE OC-8GD Video Card
As an Amazon Associate we earn from qualifying purchases. Product prices and availability are accurate as of the date/time indicated.
Conclusion
Now you know how to tell what graphics card you have from three different angles: the fast software checks, the detailed confirmation tools, and the physical sticker on the card. Start with Device Manager, add dxdiag for VRAM, and open the case only if you need that final certainty. The whole job rarely takes more than five minutes. Knowing exactly how to tell what graphics card I have on hand turns vague guesswork into a confident, repeatable routine you can run any time you update a driver, buy a game, or sell a PC. If you do end up opening your PC, having the right gear makes it painless, so consider grabbing a quality anti-static screwdriver kit and a can of compressed air to keep on hand for this check and every upgrade that follows. Check the current options and prices on Amazon and set yourself up for stress-free maintenance.
Frequently Asked Questions
What is the best how tell what graphics card i have in 2026?
The best how tell what graphics card i have depends on your budget and how you plan to use it. The options compared above are our top-rated picks based on real customer ratings, build quality, and overall value — start with the highest-rated model that fits your budget.
How much should I expect to spend on a how tell what graphics card i have?
Prices vary by brand and features. Budget options cover the essentials, while mid-range and premium models add durability, performance, and extra features. Compare the prices in the list above to find the best value for your needs.
What should I look for when buying a how tell what graphics card i have?
Focus on what matters most for your use case — build quality, compatibility, performance, warranty, and verified customer reviews. Every pick above is selected to balance these factors.
Are budget how tell what graphics card i have options worth it?
Yes. For most people a well-reviewed budget or mid-range how tell what graphics card i have delivers excellent value. You only need to spend more if you specifically require premium materials or top-tier performance.
How did we choose these how tell what graphics card i have picks?
We compare current Amazon ratings, review counts, key features, and price to surface the options with the best real-world value. The list is refreshed as ratings and availability change.


Write Your Review
No reviews yet. Be the first to share your experience!